Air conditioning repair in Indianapolis is essential when summer temperatures soar, but before you dial up a professional, there are a few key troubleshooting steps you can take to potentially save time and money. While it’s tempting to immediately call for help when your AC isn’t behaving, you might be able to solve the problem with some simple DIY checks. Here’s how to investigate your air conditioning system before resorting to a repair service.
Start with the Basics: Check Your Thermostat Settings
One of the simplest and most often overlooked reasons for an AC not functioning properly is incorrect thermostat settings. While it might sound basic, this small oversight can save you a lot of time and frustration. Here’s how to make sure your thermostat is in check:
- Temperature Setting: Make sure the thermostat is set to “cool” mode and that the set temperature is at least a few degrees below the current room temperature. This tells the system to switch on.
- Battery Life: If your thermostat operates on batteries, weak or dead batteries can prevent it from signaling your AC to start. Replacing them is an easy fix.
- Correct Mode: Ensure that the mode is not set to “heat” or “fan only,” as these will prevent your AC from cooling the house.
- Schedule Settings: Programmable thermostats often have set schedules for different times of the day. Double-check that these pre-set programs aren’t preventing your AC from cooling when you want it to.
- Display Issues: If the thermostat display is dim or not responsive, there might be an issue with the wiring or the device itself, which may need attention from a professional.
By checking these aspects, you can eliminate the possibility that a simple thermostat problem is the cause of your AC woes.
If adjusting your thermostat doesn’t do the trick, it’s time to move on to the next step.
Don’t Overlook This: Inspect Your Air Filters
Air filters play a crucial role in the efficiency and performance of your air conditioning system. A clogged filter can lead to poor airflow, reduced cooling performance, and even damage to your unit over time. Here’s how to address this common issue:
- Locate the Filter: Filters are usually located in the return air duct, in the air handler, or in a designated slot in the wall or ceiling.
- Visual Check: Take a close look at the filter. If it appears dark and covered in dust or debris, it’s time for a replacement. Clean filters allow for optimal airflow and reduce strain on the system.
- Cleaning Reusable Filters: If your system uses washable or reusable filters, remove the filter and wash it under running water. Allow it to dry completely before putting it back in place to prevent mold growth.
- Frequency of Replacement: Ideally, you should replace disposable filters every 1-3 months, depending on the usage and indoor air quality. Homes with pets or allergy sufferers might need more frequent changes.
Taking just a few minutes to inspect and change the filter can help maintain your AC’s performance and keep your home comfortable.
If clean filters don’t get your AC back on track, it’s time to check another potential issue.
Power Check: Examine Your Circuit Breaker
A tripped circuit breaker can stop your AC in its tracks, cutting power and leaving your home to heat up. Thankfully, this is an easy check that requires minimal effort. Here’s how to ensure your circuit breaker isn’t the problem:
- Locate the Panel: Find your circuit breaker panel, which is often in a basement, utility room, or garage. This panel controls the electrical circuits in your home, including the air conditioner.
- Identify a Tripped Breaker: A tripped breaker will typically be positioned slightly off from the others. To reset, push the breaker to the “off” position first, then back to the “on” position.
- Repeated Tripping: If the breaker trips again soon after resetting, it could indicate an electrical issue that needs to be examined by an HVAC or electrical professional.
- Look for Related Breakers: Some systems have separate circuits for indoor and outdoor AC components. Ensure both breakers are set to “on.”
Restoring power to your AC by checking the circuit breaker can quickly solve your issue without the need for external help.
If your breaker seems fine, it’s time to take a closer look at the airflow within your home.
Keep Air Moving: Look for Blocked Vents
Proper airflow is critical for the efficiency and effectiveness of your air conditioning system. Even if the AC itself is running, blocked or closed vents can make your home feel warmer than it should. Here’s what to do:
- Inspect All Vents: Walk through your home and check that all vents are open and not obstructed by furniture, drapes, or other items.
- Unblock Obstructions: Move furniture or other items that could be blocking airflow and causing uneven cooling.
- Clean the Vent Covers: Dust and debris can build up on vent covers, impacting the flow of air. Use a vacuum or a damp cloth to clean them and keep air moving freely.
- Open All Vents: While it might seem efficient to close vents in unused rooms, this can unbalance the airflow and put unnecessary pressure on your AC. Make sure all vents are open to maintain an even distribution of cool air.
Ensuring that your vents are open and unobstructed can significantly improve the performance of your AC system.
If airflow isn’t the issue, it’s time to turn your attention to the outdoor unit.
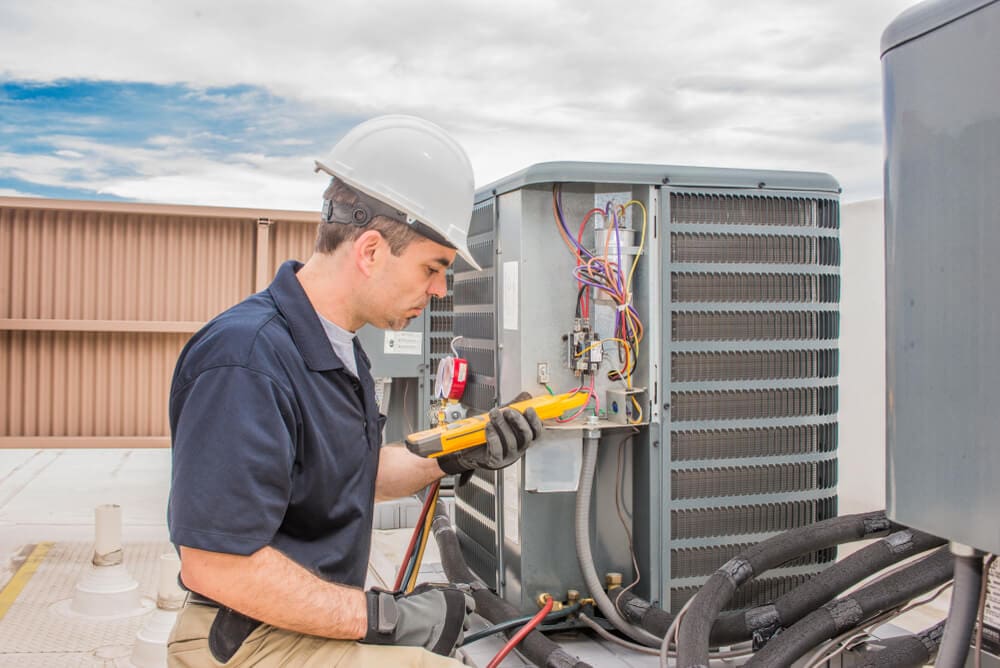
Take It Outside: Assess Your Outdoor Unit
The outdoor unit of your AC, known as the condenser, is exposed to the elements and can accumulate debris over time. If this unit is blocked or damaged, it won’t be able to release heat effectively, impacting your system’s ability to cool your home. Here’s how to inspect it:
- Clear Debris: Leaves, grass clippings, and dirt can build up around the condenser, restricting airflow. Remove any visible debris from the area and ensure the unit is clean.
- Examine for Damage: Check for any signs of damage to the fins and coils, which are essential for heat exchange. Bent or damaged fins can be gently straightened with a fin comb.
- Ensure Adequate Space: The condenser should have at least two feet of clearance on all sides to promote good airflow. Trim any plants or grass that may be growing too close.
- Look for Unusual Signs: Inspect for oil spots, which could indicate a refrigerant leak, or odd noises, which may signal a mechanical issue that requires professional attention.
- Check the Fan Blades: Make sure the fan blades are unobstructed and in good condition. Damaged blades can decrease efficiency and cause further damage to the system.
Ensuring that your outdoor unit is in good condition can help improve your AC’s performance and prevent costly repairs.
What to Do When DIY Fixes Aren’t Enough
Completing these simple troubleshooting steps can help you identify and potentially solve common AC issues without needing professional intervention. From verifying thermostat settings and cleaning air filters to checking your circuit breaker, airflow, and outdoor unit, these proactive measures can make a world of difference. If your system still isn’t working after going through these checks, it’s time to contact an expert for air conditioning repair in Indianapolis. Taking a little time for some basic diagnostics can keep your home cool and comfortable while saving you unnecessary repair expenses.